
The NEW Google Sites

Screenshot 2016-12-20 17.54.39.png
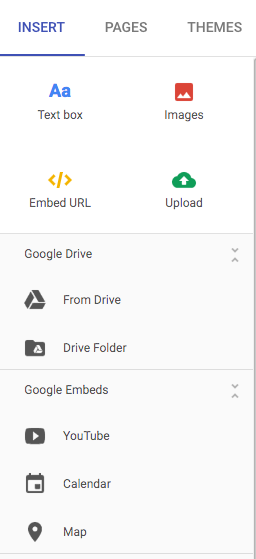
As some of you might have heard, Google recently released a new version of Google Sites. It is so slick!  You have the Edit panel that allows you to put all of your items in your site.  Then, you simply drag and drop the items to where you want them on your page.


To create new pages, click on the Pages tab of the edit panel and create your new page. Then, just drag it and drop it wherever you want it in your navigation.


Select a theme to add some color and choose an image for your header background. Google will also automatically adjust your background image and text for readability.


Screenshot 2016-12-20 17.44.50.png


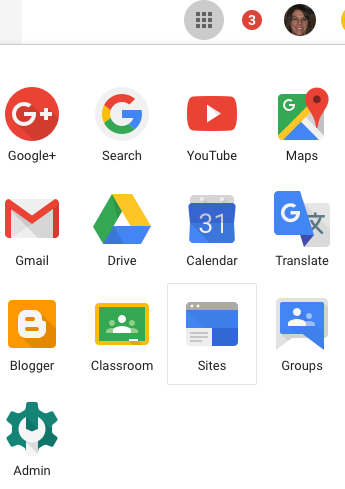
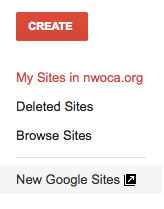
To get started with the new Google Sites, go to your apps launcher and select Sites, then select the New Google Sites.


Screenshot 2016-12-15 13.48.15.png
Screenshot 2016-12-15 13.48.27.png


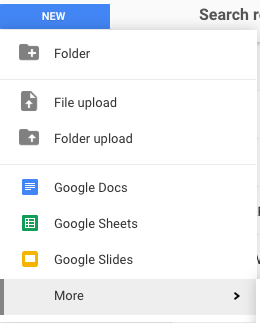
OR, if you are in your Google Drive account, click on the blue new button, then more, then Google Sites.

Screenshot 2016-12-15 13.47.46.pngScreenshot 2016-12-15 13.47.58.png


**For the full Google Sites manual, click here
**For the full list of instructional videos, click here

Comments

Popular posts from this blog

Power up Google Classroom with Private Comments

One of the most powerful elements of Google Classroom is the private comments feature, which works with assignments only.  Comments become conversations with students, allowing for more back and forth discussion than can happen with verbal feedback. Every student can have a voice and communicate their ideas or struggles with a task. To use private comments, open an assignment in Classroom, and there you will find a space for private comments. Any comments left here will be seen only by you and the individual student. One of the challenges to using private comments is knowing who the comments belong to. Here’s a workaround from Alice Keeler : Students start all comments to you with your last name You start all comments to students with your initials This helps in filtering those comments in Gmail, or searching. It also lets you quickly see who responded last in the roster: You can also use links in private comments to give students more informat...

What the SHEETS?!?

When creating a new Google Sheet, by default, it will have one sheet tab at the bottom of the page. The program is designed so that you can have a maximum of 200 sheets. To add additional sheets, you can click on the plus sign in the sheets toolbar. One sheet will be added. To rename the sheet, click on the dropdown arrow next to the Sheet, and select RENAME. You may want to explore other sheet tab options available from the menu. There may be times when you want your Google Sheet to open to a specific tab. To accomplish this, copy the URL of the specific sheet tab. For example, if you want the Google Sheet to immediately open to the second sheet tab named Chart, copy the Chart sheet tab URL. You will notice that the information to the right of the / changes: Google Sheet URL: https://docs.google.com/spreadsheets/d/1hivDhrInFjmhl-AFB_frFOvpsyuY541hxn6ShQuo7I8/ edit?usp=sharing Chart Sheet Tab: https://docs.google.com/spreadsheets/d/1hivDhrInFjmhl-A...

Magically Make a Copy

By: Kristie Hughes Do you have to constantly tell your students or other people to make a copy of your document so that they can edit their own copy?  Well, you can force this to happen just by changing the link of the file. Go up to the top of your file (google doc, slides, etc) and go to the end of the URL.  Delete the word "edit" and everything after it. Type the word "copy" in it's place. Then click return. When you give this link to other people, it will automatically prompt them to make a copy of your file. In fact, they won't even be able to see your file, until they click on the Make a Copy button. Now, you don't have to worry about anyone changing your original file, or reminding people with view only rights to make a copy to edit.