
Browse by Topic: Using Topics in Google Classroom

Google Classroom stream can become cluttered and often, it can be difficult for both students and teacher to locate posts. By adding a topic label to a post, it is easy to locate announcements and assignments by filtering by topic.

From Classroom stream, you will notice a TOPICS area located in a white rectangle to the left of screen. If the instructor has not created topics, it will read “NO TOPICS”. If topics have been created, you can click on a topic to filter the stream. After viewing filtered list, click on the arrow in the top left of screen. You will be returned to the unfiltered stream.

Below is an instructional gif that shows how to filter the Classroom stream by topic:


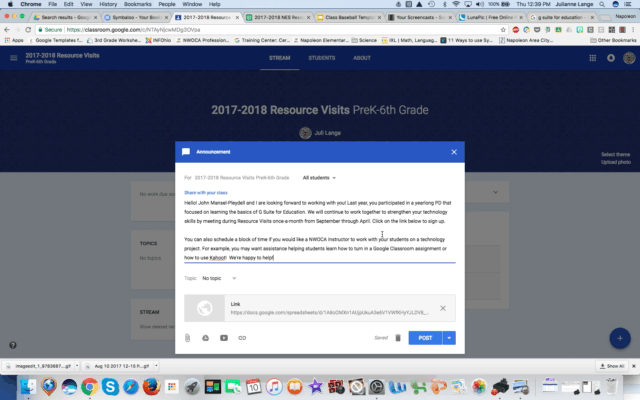
Let’s get organized by adding Classroom labels!  When adding an announcement, assignment, or question, you will notice a field to create or select an existing topic.  The topic could be the name of the unit or chapter or it could be specific like “Proper Nouns”.

Below is an instructional gif that shows how to create a topic label when adding an announcement, assignment, or question:


Comments

Popular posts from this blog

Power up Google Classroom with Private Comments

One of the most powerful elements of Google Classroom is the private comments feature, which works with assignments only.  Comments become conversations with students, allowing for more back and forth discussion than can happen with verbal feedback. Every student can have a voice and communicate their ideas or struggles with a task. To use private comments, open an assignment in Classroom, and there you will find a space for private comments. Any comments left here will be seen only by you and the individual student. One of the challenges to using private comments is knowing who the comments belong to. Here’s a workaround from Alice Keeler : Students start all comments to you with your last name You start all comments to students with your initials This helps in filtering those comments in Gmail, or searching. It also lets you quickly see who responded last in the roster: You can also use links in private comments to give students more informat...

What the SHEETS?!?

When creating a new Google Sheet, by default, it will have one sheet tab at the bottom of the page. The program is designed so that you can have a maximum of 200 sheets. To add additional sheets, you can click on the plus sign in the sheets toolbar. One sheet will be added. To rename the sheet, click on the dropdown arrow next to the Sheet, and select RENAME. You may want to explore other sheet tab options available from the menu. There may be times when you want your Google Sheet to open to a specific tab. To accomplish this, copy the URL of the specific sheet tab. For example, if you want the Google Sheet to immediately open to the second sheet tab named Chart, copy the Chart sheet tab URL. You will notice that the information to the right of the / changes: Google Sheet URL: https://docs.google.com/spreadsheets/d/1hivDhrInFjmhl-AFB_frFOvpsyuY541hxn6ShQuo7I8/ edit?usp=sharing Chart Sheet Tab: https://docs.google.com/spreadsheets/d/1hivDhrInFjmhl-A...

Magically Make a Copy

By: Kristie Hughes Do you have to constantly tell your students or other people to make a copy of your document so that they can edit their own copy?  Well, you can force this to happen just by changing the link of the file. Go up to the top of your file (google doc, slides, etc) and go to the end of the URL.  Delete the word "edit" and everything after it. Type the word "copy" in it's place. Then click return. When you give this link to other people, it will automatically prompt them to make a copy of your file. In fact, they won't even be able to see your file, until they click on the Make a Copy button. Now, you don't have to worry about anyone changing your original file, or reminding people with view only rights to make a copy to edit.